Read the legend before the landscape
Start with scale, contour interval, elevation units and publication information. On a map at 1:50,000, one centimetre represents 500 metres on the ground. That is a horizontal map distance, not the length of an undulating road. Screen zoom changes apparent size, so use the displayed scale bar rather than assuming a familiar printed scale still applies.
The contour interval is the vertical difference between adjacent contour lines. It is not universal, even across maps of the same general area. Widely spaced lines generally indicate gentler ground; closely spaced lines indicate steeper ground. You need both scale and interval to interpret slope meaningfully. Check whether supplementary contours, cliffs or other symbols alter the picture.
Turn contour shapes into a terrain model
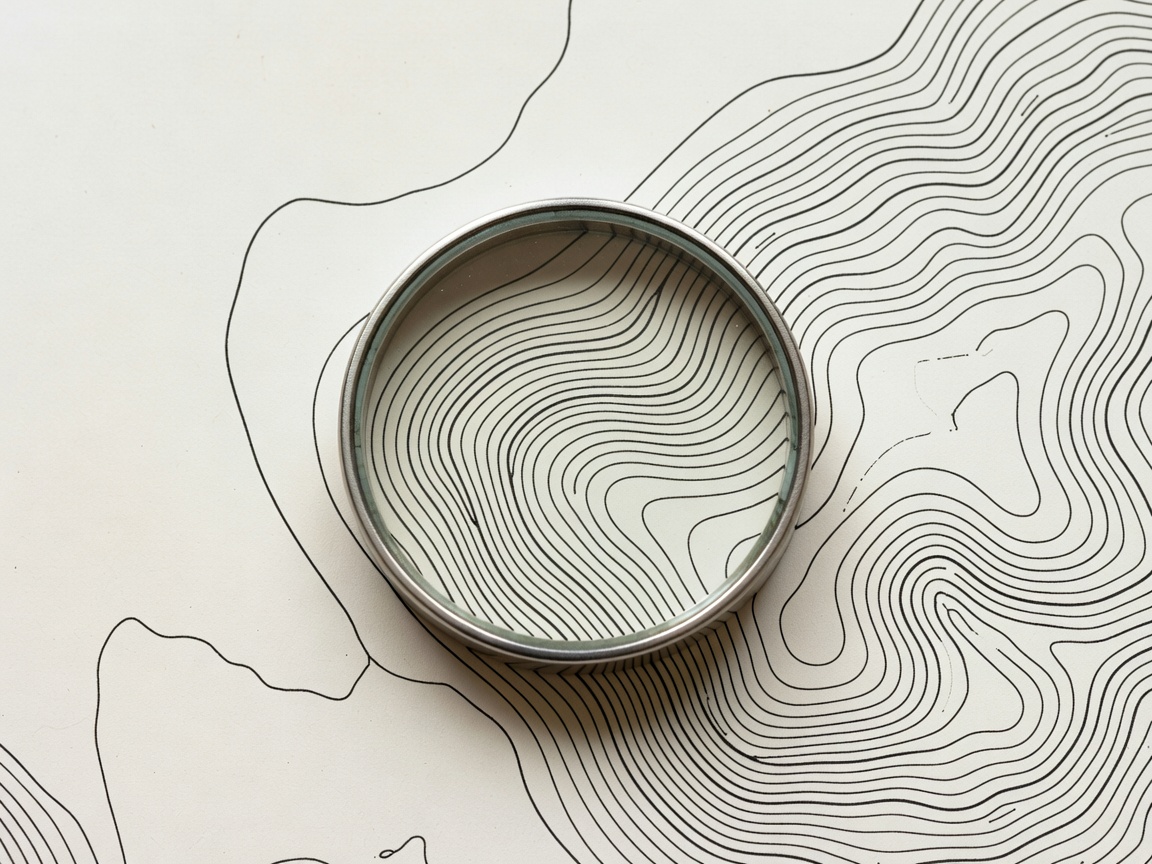
Contour lines join points of equal elevation. Closed contours often mark a hill, but depressions may use inward ticks or another convention described in the legend. Valleys commonly create V-shaped contour patterns pointing uphill where they cross a drainage. Spurs project away from higher ground. Saddles lie between higher areas and may offer a passage, but their shape alone does not prove access.
Build a simple mental model: where does water collect, which ridge divides drainages, and what ground should rise on each side of the route? Then compare that model with the view. If the map implies a stream below the road but the only visible drainage is above you, investigate the mismatch. You may have misread the map, taken a different branch or encountered an unmapped feature.
Use terrain as a series of checks
Choose recognisable features before setting out. A major road junction, a distinctive ridge end or a bridge can act as a checkpoint. A large feature beyond a planned turn can warn that you have gone too far. Avoid relying on a small building or a minor track that may have changed since the map was made. Select several clues rather than forcing one ambiguous feature to fit.
Estimate how long a section should take under the expected conditions, then allow for stops and slower travel. Time is a cross-check, not an instruction to rush. If progress is much slower than planned, reassess daylight, fuel and the usefulness of continuing. A route that remains technically navigable may no longer be a sensible choice.
Keep north references consistent
True north, grid north and magnetic north are related but distinct references. Magnetic declination varies by place and over time. A map's printed declination information may be old. Use an appropriate current source, such as the NOAA National Centers for Environmental Information magnetic field tools, and follow the compass manufacturer's instructions for applying an adjustment.
Vehicle bodywork, speakers, phones and other magnetic influences can disturb a compass. Take observations away from obvious interference and check for consistency. Practise orienting a map and taking simple bearings in familiar country with competent instruction. Do not make a remote, exposed or time-critical situation your first attempt at a new technique.
Interpret the limits of the source
USGS topographic products and Ordnance Survey maps offer established mapping frameworks, while OpenStreetMap can provide useful road and path detail. Each has different update processes, coverage and conventions. An IGN map in France or a LINZ topographic product in New Zealand may use locally familiar symbols or grids. Read the relevant legend rather than transferring assumptions from another country.
Satellite imagery can supplement contours by showing surface patterns, but shadows, vegetation and image age can mislead. A dry-looking channel in one image may be impassable after rain far upstream. Neither a contour map nor an image is a live condition report. Combine sources with current local information, and recognise when uncertainty is too large to proceed.
Practise a conservative decision loop
- Identify the next meaningful landform and expected direction of travel.
- Compare the map, receiver and visible terrain at a safe stopping point.
- Investigate discrepancies before committing to another junction or descent.
- Turn back while the known route remains a viable option.
If you become uncertain, stop in a safe place and reassess your last confirmed position. Do not keep moving simply to make the display look more familiar. Conditions may justify staying put and using your communication plan rather than attempting an improvised recovery.